


Highmarket Sports How-To's
2015-2021 SWITCHBACK PRO-S DRIVE BELT INSPECTION AND REPLACEMENT
2015-2021 SWITCHBACK PRO-S DRIVE BELT INSPECTION AND REPLACEMENT
Looking to keep your Polaris Switchback Pro-S in top-notch condition? Performing routine maintenance, like inspecting and replacing the drive belt, is essential for a smooth and safe ride. If you’d rather have us handle it, bring your snowmobile in for expert service. But if you’re up for the task yourself, here’s a step-by-step guide to get it done right.
Safety First: Always Gear Up
Before diving into any maintenance task, prioritize safety. Ensure you’re equipped with safety glasses and nitrile gloves to protect yourself during the servicing process.
Inspecting and Replacing the Drive Belt
Your snowmobile’s drive belt is a crucial component. Here’s how to inspect and replace it properly:
Step 1: Preparation
Make sure your vehicle is on a flat, level surface before starting any work.
Step 2: Accessing the Clutches
Begin by removing the left side panel. Release the rubber strap and turn the two quarter-turn latches. This allows access to the clutches.
Step 3: Disengaging Reverse (if necessary)
If needed, rotate the driven clutch counterclockwise a quarter turn to disengage reverse.
Step 4: Securing the Snowmobile
Set the parking brake to prevent any movement during the process.
Step 5: Noting Belt Direction
Take note of the drive belt’s direction of rotation. If you’re reusing the belt, it must be installed in the same direction.
Step 6: Accessing the Clutch
Use the clutch spreader tool from the side panel trim to access the clutch. Spread the trim as needed for better access.
Step 7: Removing the Belt
Insert the clutch spreader tool into the threaded hole on the driven clutch and turn clockwise to spread the clutch. Carefully remove the belt from the driven clutch and then from the drive clutch.
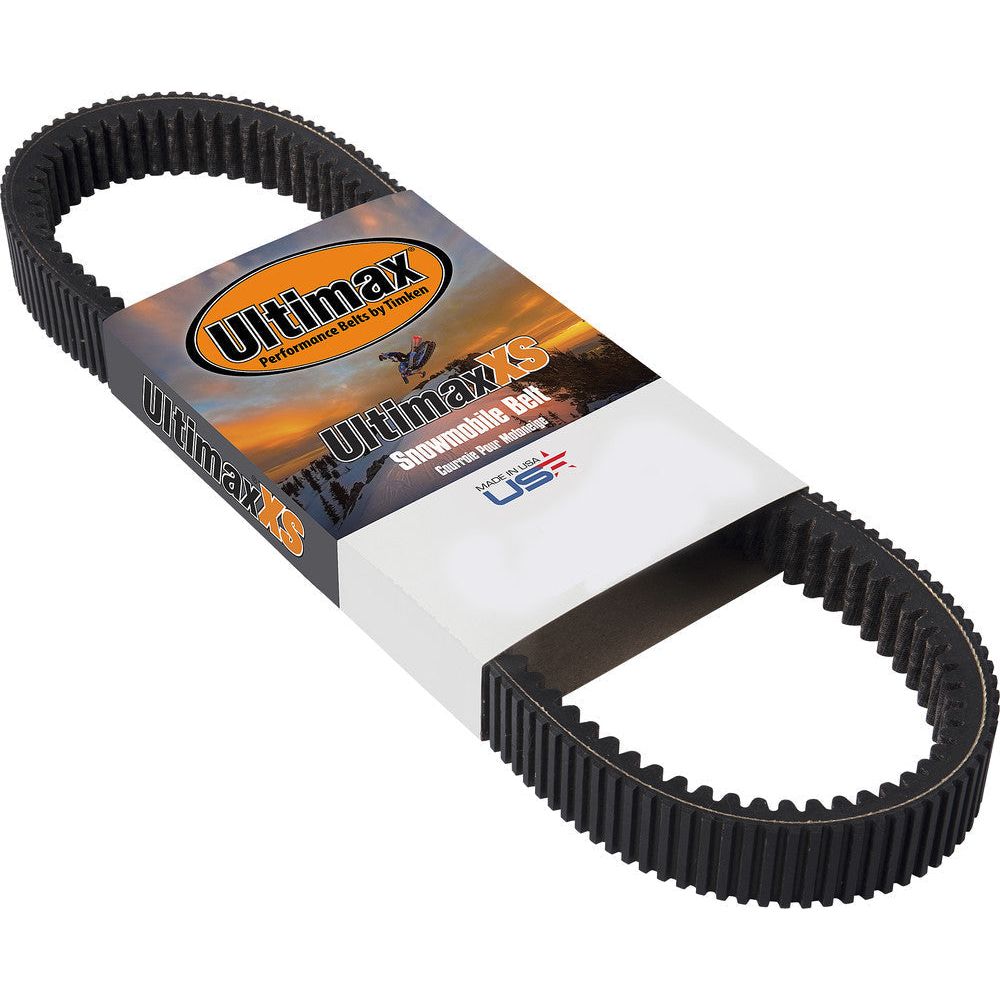
Step 8: Belt Inspection
Thoroughly inspect the belt for any signs of damage, including fraying, hour-glassing, loose cords, missing cogs, abrasions, or burns. If necessary, replace it with part number 3211165.
Step 9: Cleaning
Clean the area around the clutches meticulously. Any debris left behind could lead to vehicle damage, loss of control, or severe injury.
Step 10: Installing a New Belt (if applicable)
If you’re replacing the belt, clean it with warm soapy water and ensure the part number is facing outward when installed.
Step 11: Installing the Belt
Loop the belt over the drive clutch and carefully position it over the driven clutch sheave. Spin the belt while removing the clutch spreader tool to properly seat it.
Step 12: Final Steps
Completely remove the clutch spreader tool. Reconnect the side panel trim and reinstall the clutch spreader tool.
Step 13: Finishing Touches
Reinstall the side panel by inserting the tabs at the bottom and top. Secure the rubber strap and turn the two quarter-turn latches.
By following these steps meticulously, you can ensure your Polaris Switchback Pro-S is ready to tackle the snow with optimal performance.
Remember, if you’d rather leave this task to the experts, our team at Highmarket Sports is always ready to provide professional service for your snowmobile.
Stay safe and enjoy your ride!